
How to turn your medium posts into videos, without losing your voice
Convert your blog2video

I write blogs. I enjoy writing blogs. But let’s be honest — not everyone wants to read. Some people want to watch. So I asked myself: what if I could turn any blog post into a professional explainer video, without touching a video editor?
Turns out, you can. Here’s how I did it with Cursor, Remotion, and ElevenLabs.
Blog2Video
The Stack
Cursor — an AI-powered code editor. You talk to it, it writes code. Think of it as having a senior developer sitting next to you, except it never gets tired and never judges your variable names.
Remotion — a React framework for creating videos programmatically. Instead of dragging clips around on a timeline, you write React components. Each scene is a component. The video is just JSX.
ElevenLabs — AI voice generation. You give it a script, it gives you back a natural-sounding voiceover. No microphone, no recording studio, no “um”s.
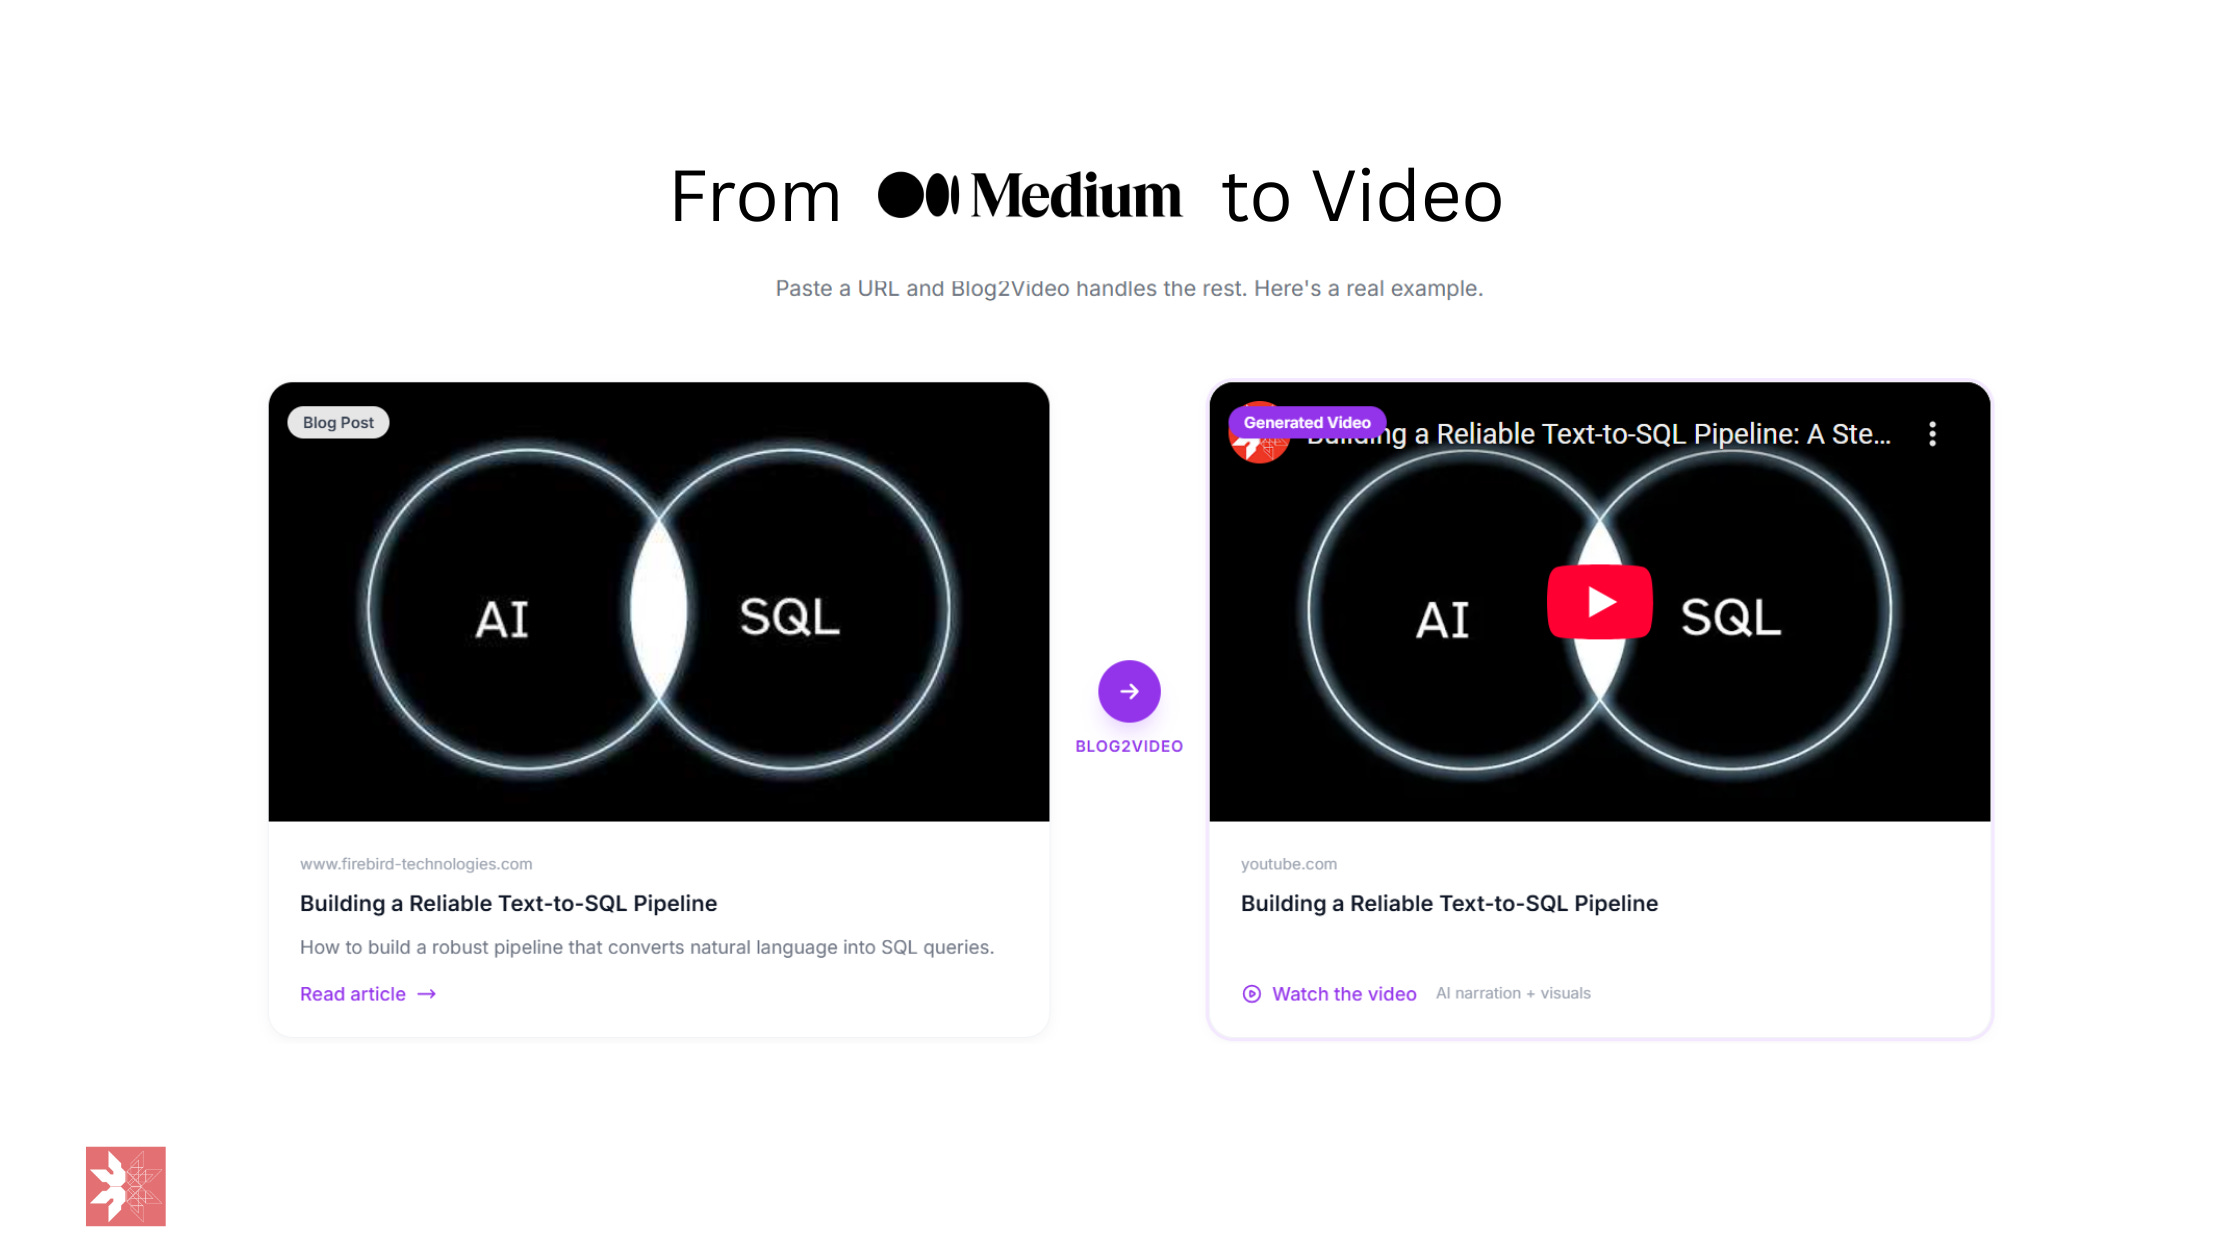
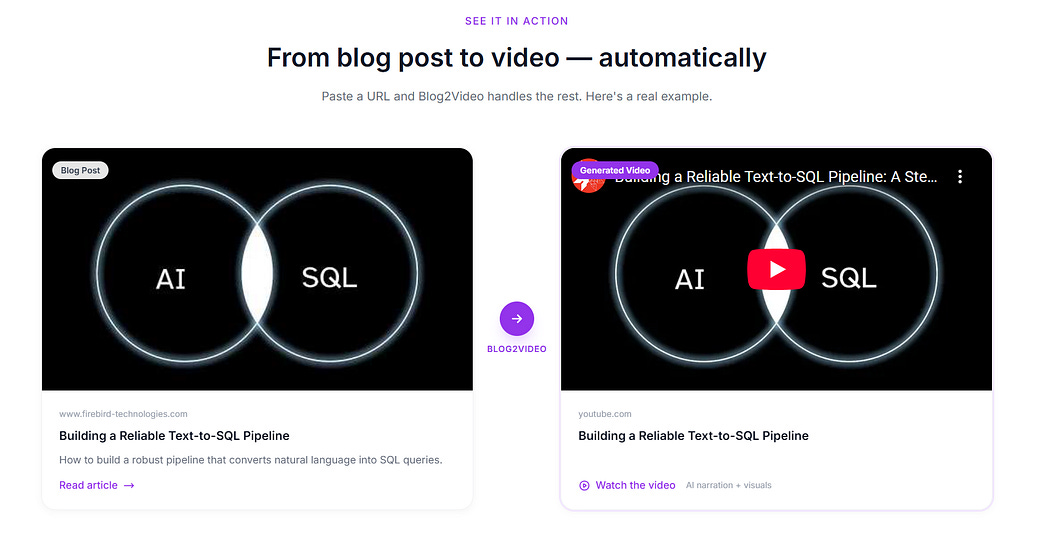
Examples
Before I show you how to do this here are some examples of my blogs turned into videos
The Workflow
The whole process comes down to one prompt file and a conversation with Cursor. I built a master prompt (prompt.md) that encodes my entire video style — the branding, color palette, animation rules, project structure, and every lesson learned from previous videos. It’s basically a blueprint that tells the AI agent exactly how to build a Remotion project from scratch.
Then I just told Cursor: “Use prompt.md to create a video explainer for my Tally Forms review.”
Here’s what happened next:
Cursor read the blog and broke it into 7 logical scenes — intro, what is Tally, features walkthrough, likes, dislikes, AI wishlist, and outro.
It wrote conversational voiceover scripts for each scene. Not copy-pasted blog text — actual spoken-word scripts with natural pauses and flow.
It called the ElevenLabs API via a Python script to generate all 7 audio tracks. A British male voice (George) narrating the whole thing.
It built every React component — each scene with fade-in animations, screenshots from the blog, numbered lists, card layouts, and branded elements. All following the design system in my prompt file.
It measured the audio durations and wired up the exact frame timing so every scene matches its voiceover perfectly.
It launched the Remotion studio where I could preview the entire video in my browser.
The whole thing — scaffolding, scripting, audio generation, component creation, and timing — took one conversation.
What’s Inside prompt.md
The prompt file is around 650 lines and it covers everything the AI agent needs to produce a video end-to-end, without asking me follow-up questions. Here’s what’s in it:
Branding & Design System — The company name, logo file, tagline, and a full color palette (background, text, accent, muted, card fills, borders). It locks in two font families: JetBrains Mono for titles and code, Inter for body text. Every scene gets a subtle grid background that fades in with the scene.
Strict Animation Rules — Only opacity fade-ins are allowed. No translateX, no translateY, no scale, no rotate, no CSS transitions or keyframes. This single rule eliminates 90% of the janky rendering issues I hit in earlier videos. Elements stagger in with 30–40 frame gaps.
Project Structure — A complete directory tree so the agent knows exactly where every file goes: config files in the root, scene components in src/components/, audio in public/audio/, images in public/.
A 12-Step Build Order — Scaffold the project, copy assets, create configs, install dependencies, read the blog, plan scenes, write voiceover scripts, generate audio, measure durations, create components, wire up timing, and launch the studio. The agent follows this exact sequence every time.
Scene Component Patterns — Seven reusable layout templates: intro with banner image, numbered list, card layout, multi-column, results/data, pipeline/flow, and outro. The agent picks the right pattern for each section of the blog.
Voiceover Generation — A complete Python script for calling the ElevenLabs API, plus writing rules: conversational tone, double dashes instead of em dashes for TTS, spell out small numbers, keep each scene to 15–35 seconds.
Audio Duration Checker — A zero-dependency Python script that parses MP3 headers to get exact durations. The formula is simple: frames = audio_seconds × 30fps + 60 frame buffer. No guessing.
A Known Pitfalls Table — Fourteen specific bugs I hit in previous builds and the mandatory fix for each. Things like: mkdir -p fails on PowerShell (use New-Item instead), Unicode in Python print statements crashes on Windows (ASCII only), .webp images fail silently in Remotion (convert to .jpg first), spaces in filenames break path resolution (use hyphens).
Pre-Render Checklist — A final sanity check: all scenes use fade-in only, logo placement is correct, color scheme matches, audio files exist, durations are measured not guessed, TypeScript compiles clean.
The whole point of the file is that every mistake I made once is now impossible to make again. The prompt grows smarter with every video I build.
What Makes This Work
The secret isn’t any single tool. It’s the combination:
Cursor handles the complexity. It reads your blog, makes creative decisions about scene layouts, writes TypeScript, runs Python scripts, and debugs issues — all in one flow.
Remotion makes video programmatic. Every scene is version-controlled, reusable, and easy to tweak. Want to change a color? It’s one line. Want to swap an image? Just update the file path.
ElevenLabs removes the recording bottleneck. The voice sounds natural, and you can regenerate any line instantly if you want to adjust the script.
The Result
A ~2.5 minute explainer video with:
7 scenes with staggered fade-in animations
8 blog screenshots integrated across scenes
Professional AI voiceover
Consistent branding throughout
Zero manual video editing
Could a professional video editor make something more polished? Absolutely. But could they do it in minutes from a single conversation? Probably not.
Don’t Want the Hassle? Use Blog2Video
https://blog2video.app
Look, I’ll be real — the setup I described above is powerful, but it’s a developer workflow. You need Cursor, Node.js, Python, an ElevenLabs API key, and the patience to maintain a 650-line prompt file. Not everyone wants that. If you just want to paste a blog URL and get a video back, check out blog2video.app. It does exactly what the name says — turns your blog posts into videos without any of the technical setup. No code, no prompt engineering, no debugging TypeScript at midnight.
I built the hard way because I like the control. But if you want the easy way, it exists.
Thank you for reading!